Monday, 26 October 2015

Autumn Gingerbread Cinnamon Cupcakes

Autumn is probably my favorite season out of them all. I love sitting down with a hot chocolate and a soft blanket and watching YouTube, Netflix or my favorite DVD and it being acceptable to do so, without the constant feeling of guilt that I should be out with friends or enjoying the 'nice' weather. With the days getting colder and shorter (thank god) i feel like this is the perfect time to get back into baking, which sort of took a back seat for me over the last few months- but I found this recipe which produces the perfect autumn/winter cupcakes..you can thank me later.


Gingerbread Cinnamon Cupcakes


Method:
Step 1- Preheat the oven to 180C and place 12 cases into a cupcake/muffin tin.
Step 2- Cream together the butter and sugar for about 2 minutes.
Step 3- mix the spices together with the self raising flour in a separate bowl
Step 4- Crack the 3 eggs into a cup and whisk them a little bit until they're combined.
Step 5- Add a little bit of the egg then mix, then a little bit of the flour and mix. Keep alternating between the two until you've used all the eggs and flour (I would suggest stopping a few times and folding in the flour round the sides of the bowl)
Step 6- Stir in the milk
Step 7- Plop about a tablespoon and a half of the mixture into each cupcake case and put them in the oven for about 17-20 minutes (17 was plenty for me or they would have burnt)


While they're cooking in the oven, make the toffee and the buttercream.
BUT to me the toffee was kind of an unnecessary step and if you're looking to cut cleaning up time I would skip this bit. I didn't end up using the toffee on top, and the toffee I did put in the buttercream, you couldn't really taste.
Step 8- Melt 50g of the 200g of butter in a pan with the sugar until it's turned into a toffee sauce and then add a little bit of milk, you can let this cool because it melts again so easily.
Step 9- Whisk the remaining 150g of butter until it's smooth
Step 10- Add the icing sugar and 3/4 of the toffee sauce (if you're using it) then put it in the fridge for a little bit while your cakes cool down
The amount of buttercream the recipe says doesn't make enough for all of the cakes and I doubled it
Step 11- When your cakes are cool *insert sunglasses emoji* stuff the buttercream into a piping bag and pipe on little swirls of icing.
Step 12- Decorate with anything you want! I used little sparkly gingerbread sprinkle and gingerbread toppers from sainsburys, but you can use anything really! Then that's it, you're done.

If you make these please make sure to leave me a comment below telling me what you think!
(and good luck trying not to eat every single one in one sitting...it's tough)

dais xx


Sunday, 22 March 2015

Lemon Drizzle Loaf Cake Recipe


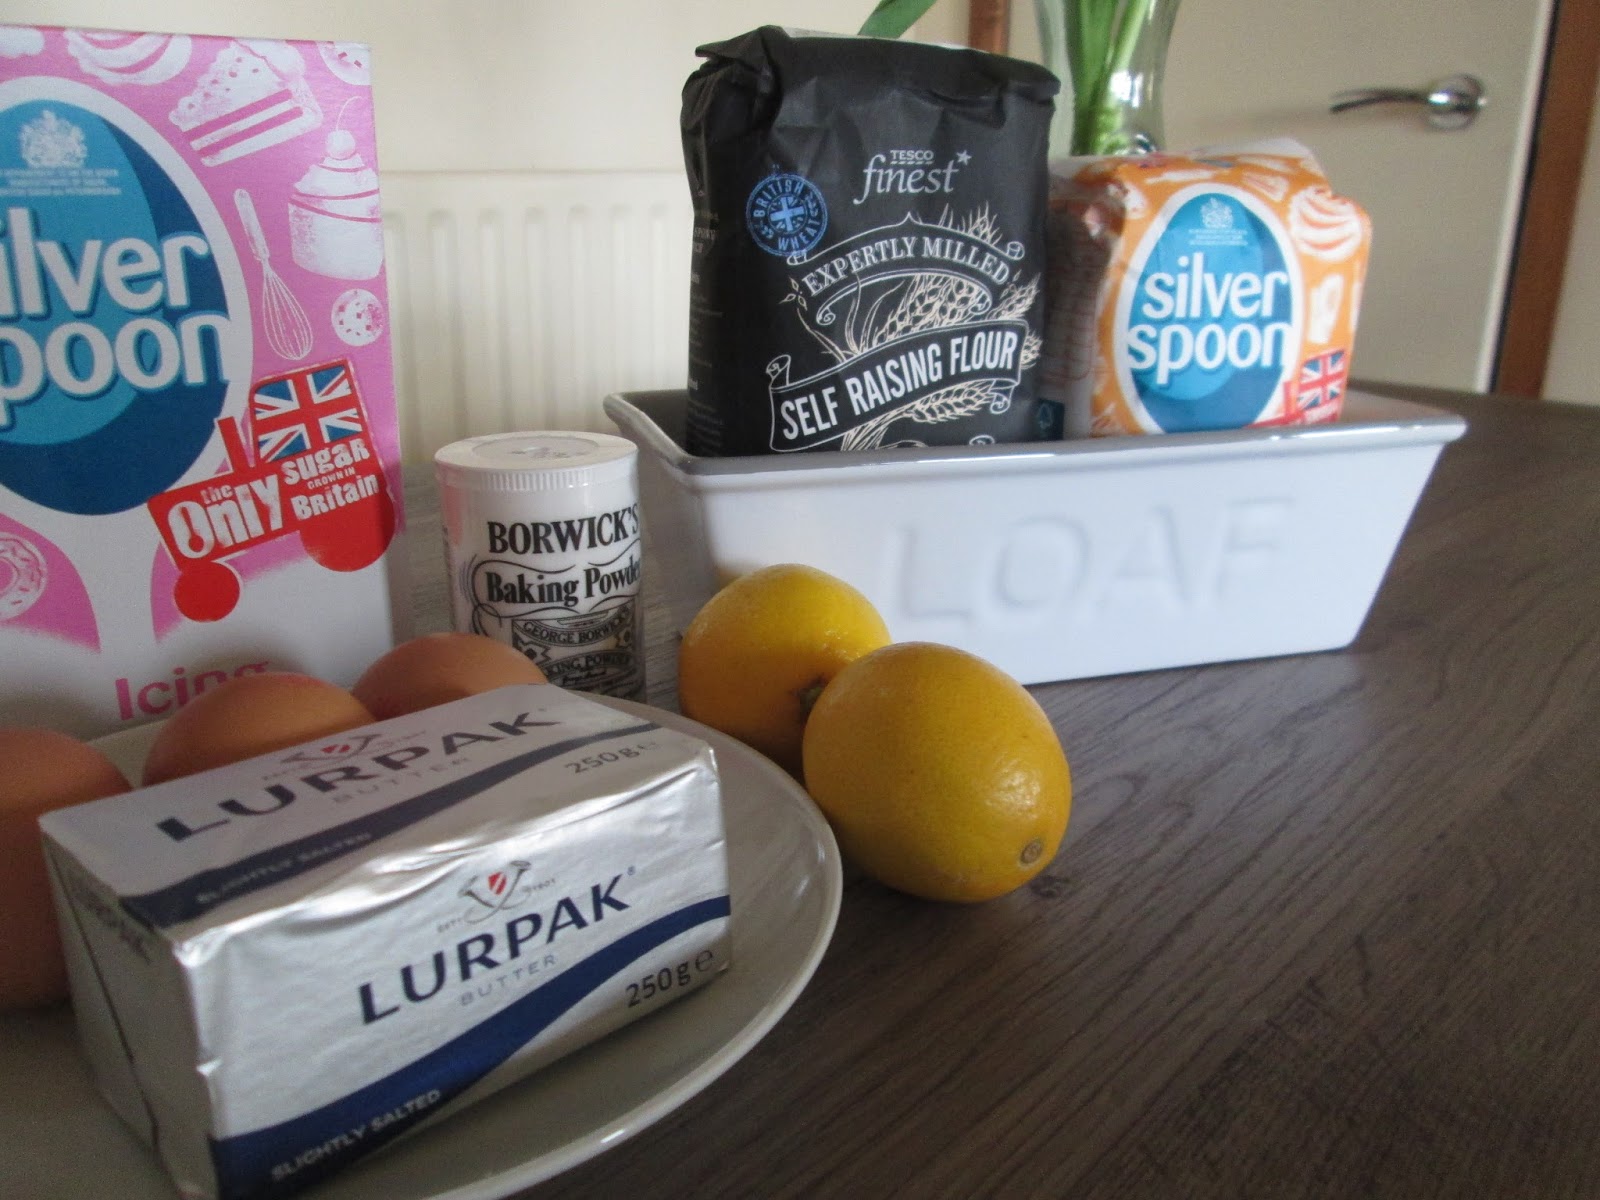
ok literally stop what you are doing right now and get your apron on because you have gottt to try this lemon drizzle recipe. This is by far my favourite lemon drizzle and its so quick and easy to make. I found this recipe on the internet a really long time ago and i have been using it ever since. Heres how i made this and what you will need:
170g of self rasing flour
170g of caster sugar
170g of butter
1tsp of baking powder
3 eggs
2 lemons (zest and juice)
110 of icing sugar 


mix the butter, caster sugar, eggs, flour, baking powder and lemon zest together in a big bowl until it looks like normal cake mixture. pour this mixture into a greased loaf tin (mines from tesco and i'm slightly in love with it) then put into a preheated oven at 180 degrees celsius, bake it for 30-40 minutes. while it's baking juice the lemons and mix the icing sugar with the lemon juice. You could probably use lemon juice from the shop already squeezed but i normally use the lemons that i got the zest from (make sure to sieve the squeezed lemon juice though!)
when the loaf comes out of the oven get a knife (or a professional little skewer that i do not have) and make holes all over the cake, once you've done that get the lemon 'drizzle' mix and pour it all over the top. Then you're done! you can eat it straight away or wait a little bit until it's cooled down. it's seriously so nice i could eat it all day...in fact i have been

hope you enjoy it!

dais xxx

Monday, 12 January 2015

healthy-ish pasta recipe

So far this year i've been doing quite a good job of staying healthy and choosing healthier foods than last year, but I couldn't cut all my favourite foods out of my diet straight away- that would be impossible for me. So i've been slowly cutting down on my fave foods, this is why this pasta is healthy-ish because it still has a few slightly unhealthy foods in it but it is better than what was in my diet last year.

If you're looking for a yummy dinner or tea-time idea that isn't too unhealthy keep on reading;

(I am aware this doesn't look too nice but it definitely tastes nice)

what you will need:

-50g of penne pasta
-half a can of sweetcorn
-a handful of spinach
-a few stalks of asparagus
-25g of mozzarella (grated)
-olive oil (or any oil but olive oil is a little bit healthier)

First of all start off by cooking the pasta, read the back of the bag of pasta for cooking instructions. While the pasta is cooking get all your other ingredients together, also while the pasta is cooking steam or boil your asapargus (I boiled mine)...it doesn't matter if it goes cold because it will be reheated later.

When your pasta is almost done poor about a tablespoon of olive oil into the pan and let that heat up for a little bit on a medium heat.  Add the spinach and pasta and cook for 1 minute, continuously stirring.

Then add the asparagus and sweetcorn and cook for about 40-60 seconds, add your mozzarella and stir until the cheese is melted and covering the pasta. Take off the heat and leave to cool for a minute until you eat it!

That's it! How easy! It seriously tastes amazing, and i'm quite proud of myself for coming up with the recipe.

I hope you enjoy it if you make it! Also, i was thinking of doing a few more easy health type posts on my blog...anyone up for that?

dais xxx

Tuesday, 12 August 2014

Super Healthy Green Smoothie

Since i've got back from holiday I have been wanting to become more healthy, which in my case is verrry hard.. But i've been doing it and I've been having very healthy meals and only drinking water.. But water does get a liittle bit boring so I've found a smoothie recipe which is super healthy for you and also tastes amaazing, (It doesn't look too great though)...

 You will need:
2 cups of spinach (I know, ew, but you can't taste it!)
1/2 a cup of mixed berries
1 frozen banana
1/4 of a cup of raw seeds (I chose sunflower seeds but you can use any seeds you like...)
1 1/2 cup of coconut water (you can get this from tesco, it's quite expensive though so you can just use normal water)

 Add it all to a blender and start blending, I blended it for about 2 minutes and I think that was the correct amount of time for mine.

Then pour it into a glass and enjoy! I know it doesn't look too appetising but it really does taste sooo nice! You can't really taste the spinach you can just taste the berries and banana! I like to have this when I wake up because I usually do a little bit of exercise in the morning to wake me up, so I normally have this instead of breakfast because it's a little bit lighter.

If you make this I hope you enjoy it as much as I do!
xx

Blogger template designed By The Sunday Studio.